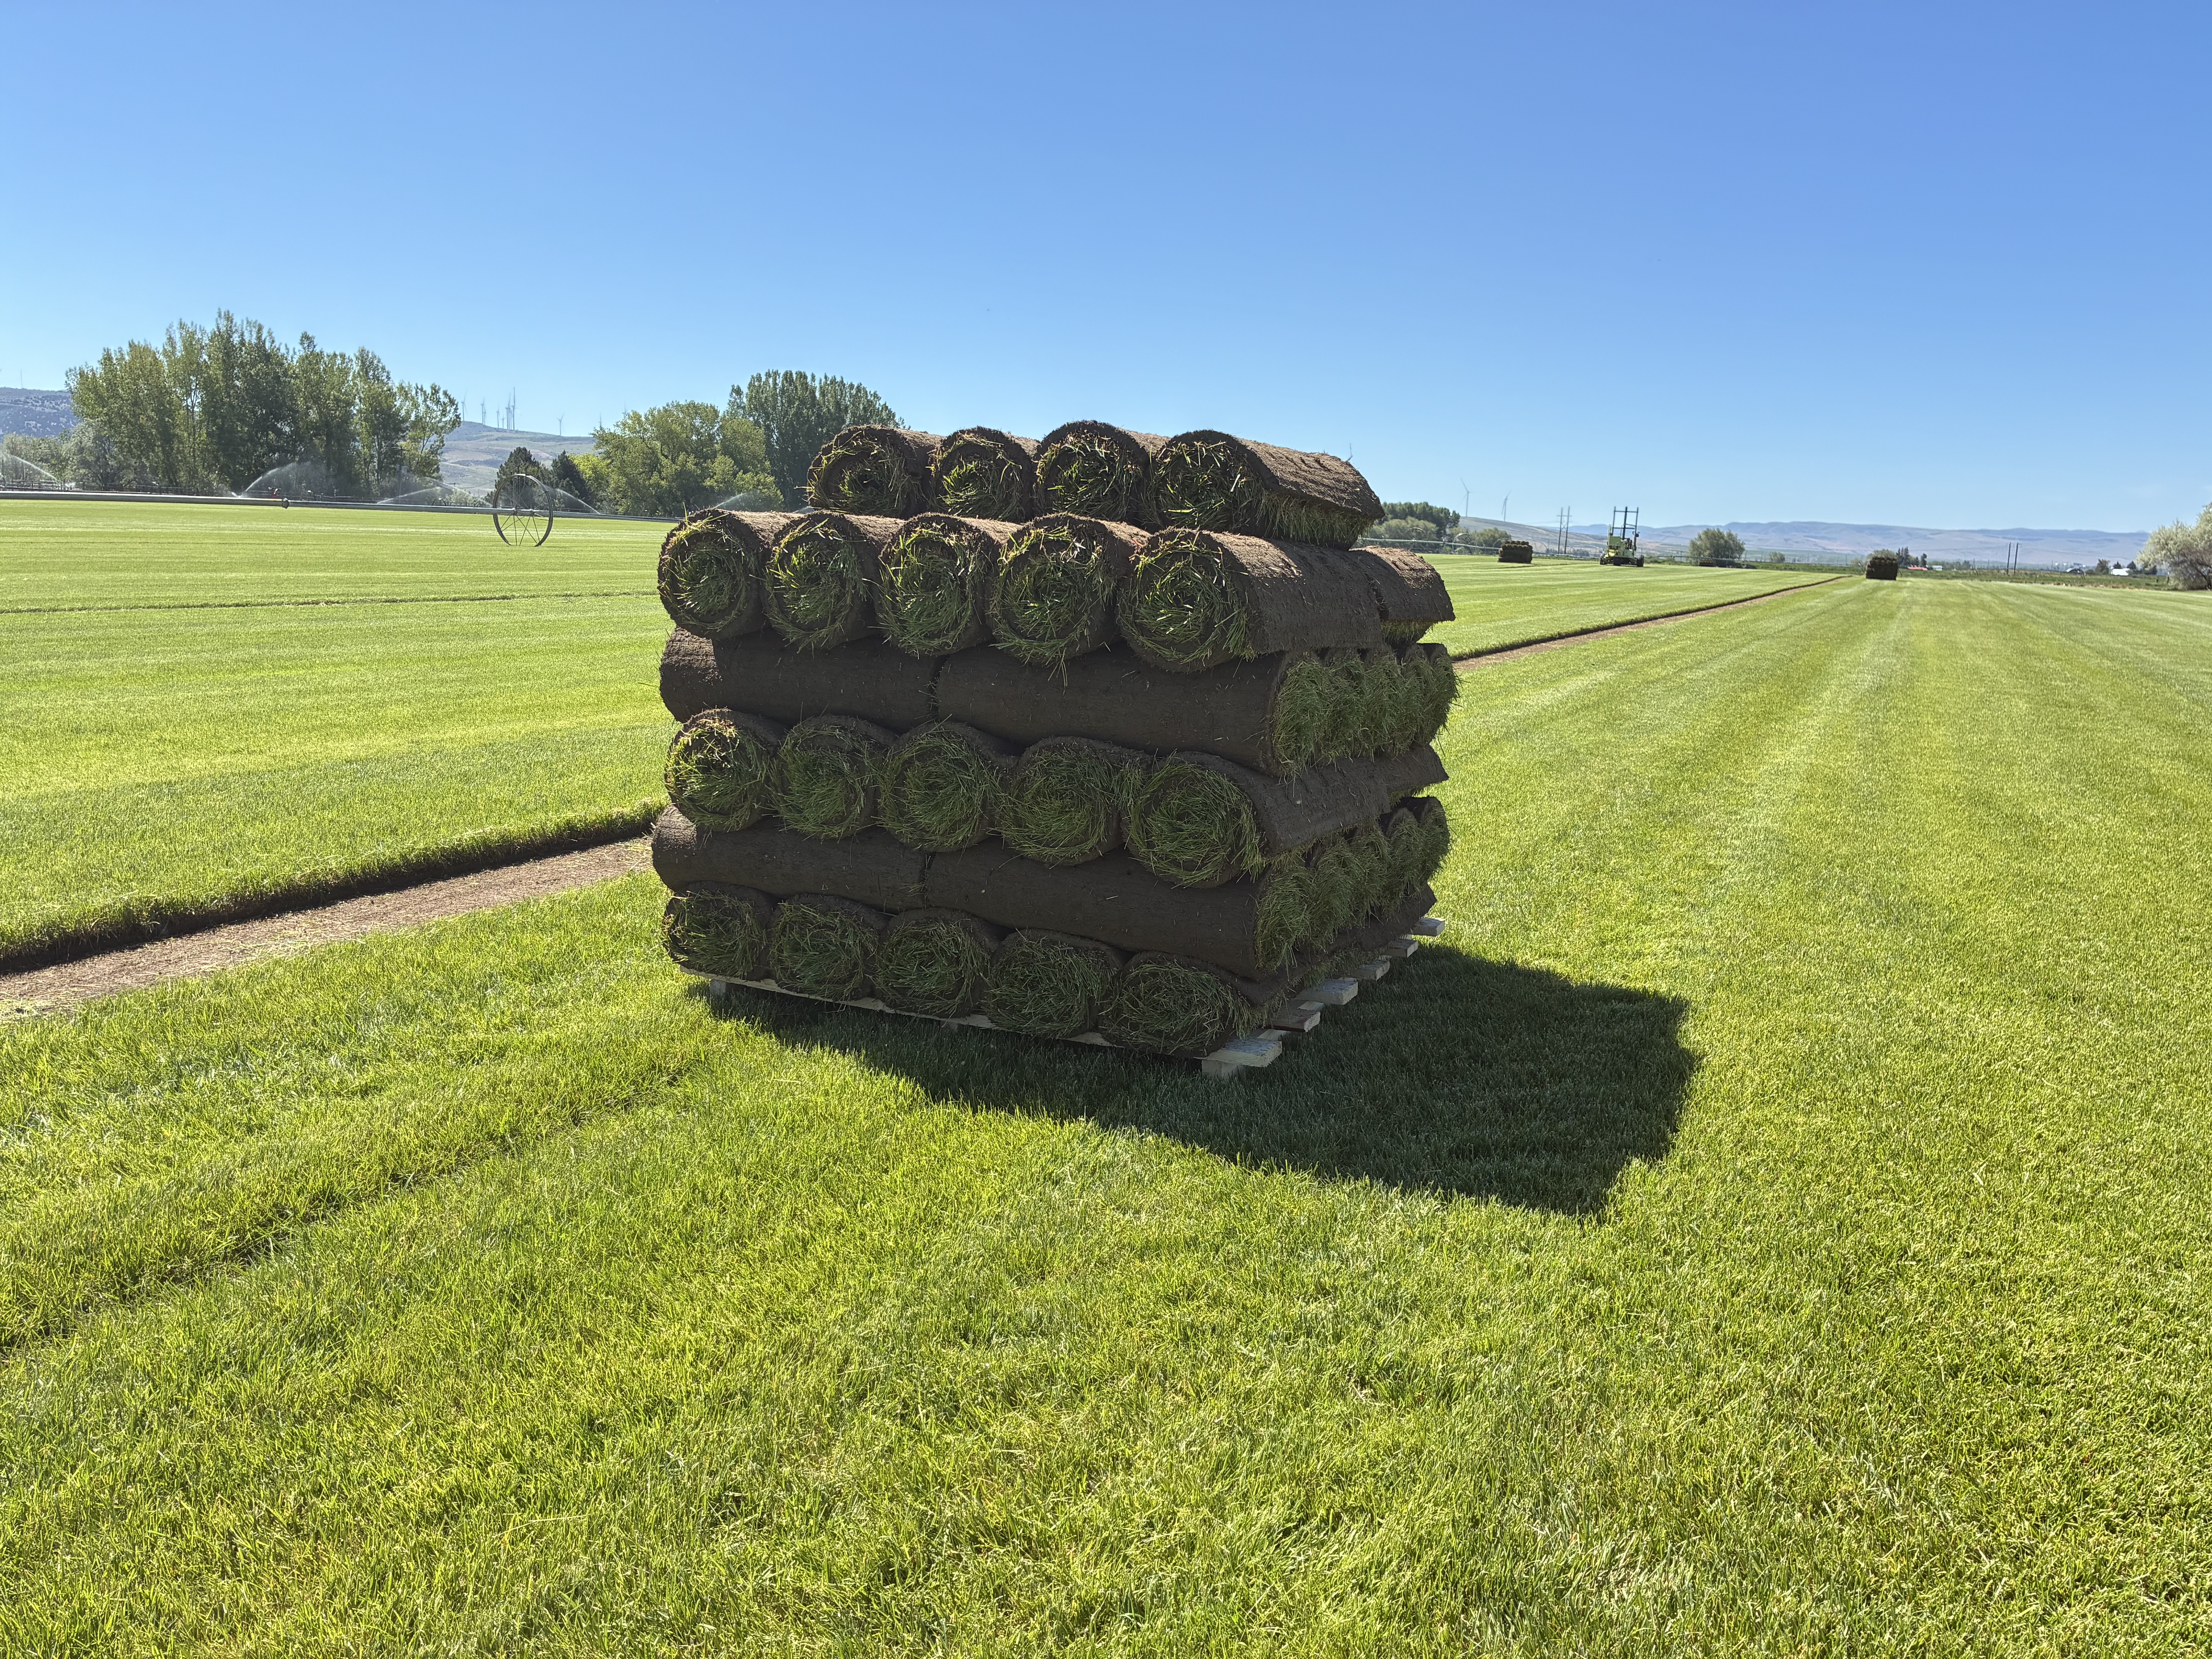
How to Install Sod
Sod is a living plant that requires contact with the soil and good moisture to stay healthy. It is best to install the sod immediately once it has been delivered.
Start at a straight edge
Begin laying sod along a driveway, sidewalk, fence, or side of a house. You can also use a string line.
Stagger like brickwork
Stagger each rolled-out piece of sod similar to how brickwork is laid out. This prevents long seams that can dry out.
Butt seams tightly
Butt all edges and sides of each piece tightly, but do not overlap them.
Do not stretch the sod
Make sure each piece keeps its original length. Stretching sod causes open seams once it dries.
Work from the finished sod
Work from the sod you have already laid rather than the bare soil when possible. This protects your grading.
Trim with a sod knife
Use a spade or sod knife to trim the rolls. This is especially helpful when trimming ends and around irregular shapes.
Tamp it down
Tamp down pieces with a flat shovel or your foot to remove any bumps and ensure good soil contact.
One irrigation zone at a time
Try to install one zone at a time so water can be turned on immediately after each section is done.
Keep rolls damp until installed
Keep sod rolls damp and in the shade if possible until you are ready to install them.
Spring and fall: install within 24 hours of delivery. Summer: install the same day. Sod is perishable and needs to be watered immediately.